Split Documents
Before you begin splitting documents, read the following topics:
Overview: Split and Merge Documents
To split documents:
-
On the Dashboard, click the Review module.

-
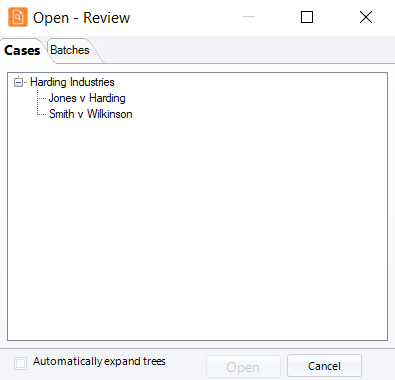
Select a Client and Case and click Open.

Note: You can also open a folder or perform a search if your are working in a case.
- Make sure the records in the tab in which you are working are sorted by the BEGDOC field.
-
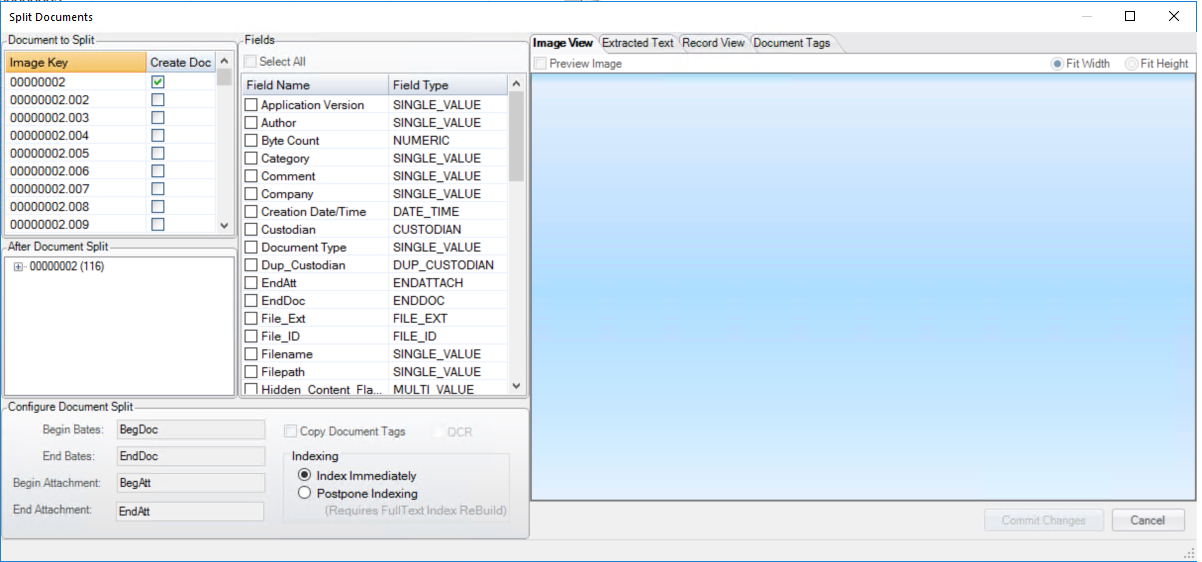
In the Case View tab, right-click the document to be split and select Split Document.

The Split Documents dialog displays.

-
Define how pages will be split:
-
In the Document to Split section of the Split Documents dialog box, select the Create Doc option for pages to be split into separate documents.
-
Review the After Document Split section of the dialog box to ensure the document will be split as needed. You may also want to review documents as introduced in step 9.
-
If needed, make adjustments in the Before Document Split until the document is split as needed.
-
-
In the Fields list, select fields for which data should be copied from the original document to all split documents.
-
To include document tags, select the Copy Document Tags option. Tags from original document will be copied to all split documents.
-
If the OCR option is available, select it if you want to create extracted text (if it is missing or if page breaks are not indicated in the existing extracted text).
-
As needed, review the document by performing the following steps:
-
-
Select a page of interest in the Document to Split list and select the Preview Image option in the Image View tab.
-
Examine the page image; click Fit Width or Fit Height for different views.
-
Select another page to view its image. The image will change for each subsequently selected page. The image key for the current image is included at the top of the tab.
-
If you perform another action (such as clearing a selection in the Document to Split list) you will need to clear the Preview Image option, then select both a document and the option again.
-
-
-
Click the Extracted Text tab.
-
Select the Preview Extracted Text option.
-
Scroll as needed to see all extracted text.
-
If needed, text can be copied—select the text, then press CTRL+C. Paste the text in an appropriate file.
-
-
-
Click the Record View tab. Data for the original document are presented.
-
Review field details; scroll to view all fields; click Expand to see an individual field’s data.
-
If needed, field data can be copied—select the field’s text, then press CTRL+C. Paste the text in an appropriate file.
TIP: To select all text, click in the field and press CTRL+A.
-
-
-
Click the Document Tags tab.
-
Note which document tags have been applied.
-
Scroll if needed to see all tags.
-
-
When documents are split, the case must be re-indexed, which can be done as part of the splitting process or at a later time. (Re-indexing now may cause processing delays.) Choose the needed option:
-
Index immediately: Index the case after the document is split.
-
Postpone Indexing: Index the case later. When finished, click Commit Changes. The document will be split in the manner you have defined.
-
-
When finished, click Commit Changes. The document will be split in the manner you have defined.
-
As needed:
-
Review new documents in the Case View tab.
-
Communicate document changes to your team members.
-


|
|
NOTE: If Begin and/or End Attachment fields are identified by Review in the Configure Document Split area, do not select them in the Fields list. |
Related Topics
Overview: Split and Merge Documents
Version: 2023.8.12
Last Revision: 11/8/2023